Hey Guys!
Welcome to another DIY project! DIY dining room table.
In this post I will share with you how to repurpose a dining room table and give it new life.
Let’s start with a before picture, shall we.
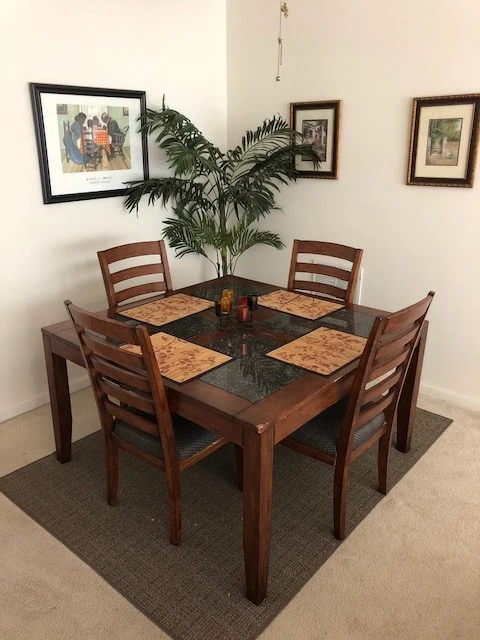 Hmmm, where do I begin…..Well let’s start from the bottom up. The rug for starters was too small for the area, it was a 5 x 7. The chair cushions were stained by a couple of then smaller messy kids. They are still messy as teenagers just bigger, in case you wondered. The table itself had some scratches from moving. The plant in the corner was huge and overbearing. The centerpiece was underwhelming. Overall this corner of the home was just dark and uninviting.
Buying a new dining room table was a bit out of the price range and this piece still has great bones, solid wood with granite inlays. I just knew it could be freshened up, all it needed was a makeover!
First up were the granite inlays.
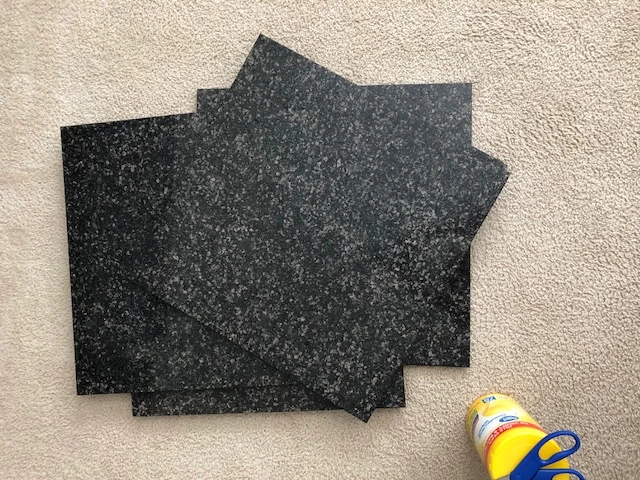 After removing them from the table, and a good cleaning later they were ready to be covered. Using this Con-Tact paper purchased at The Home Depot.
Here is the after:
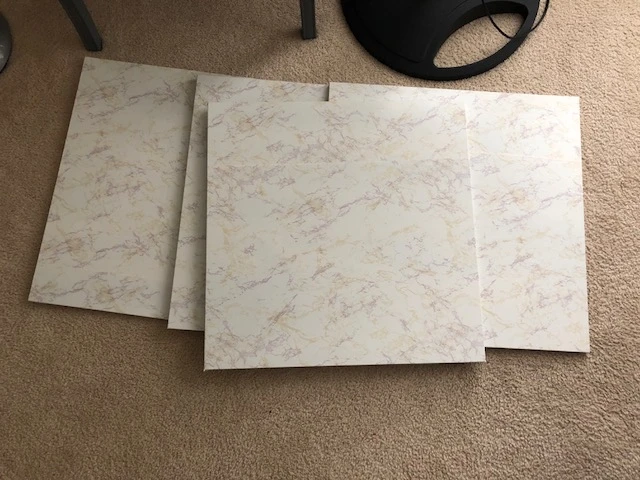 This was a little tricky at first, the hardest part was smoothing out the bubbles, a credit card is a perfect tool for the job.
Next up were the chairs. That meant, this project moved down into the basement, old scrap wood was perfect to set the chair on for painting.
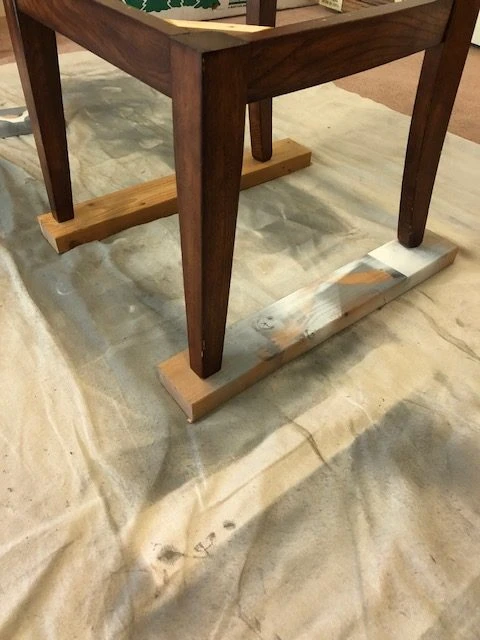
Here is the before of the chair
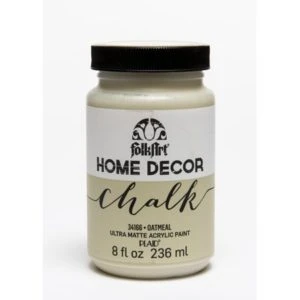
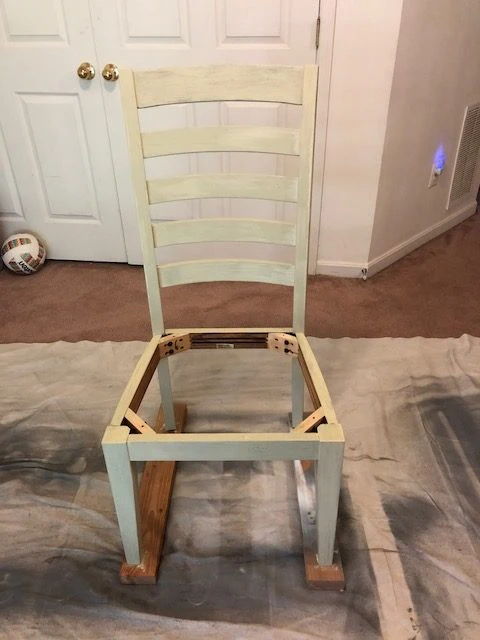
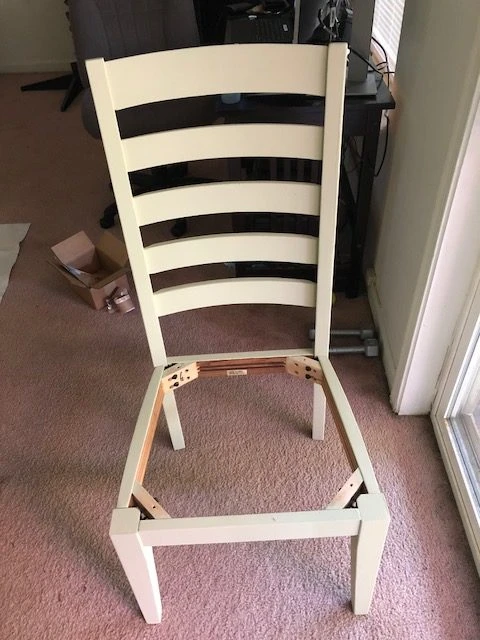
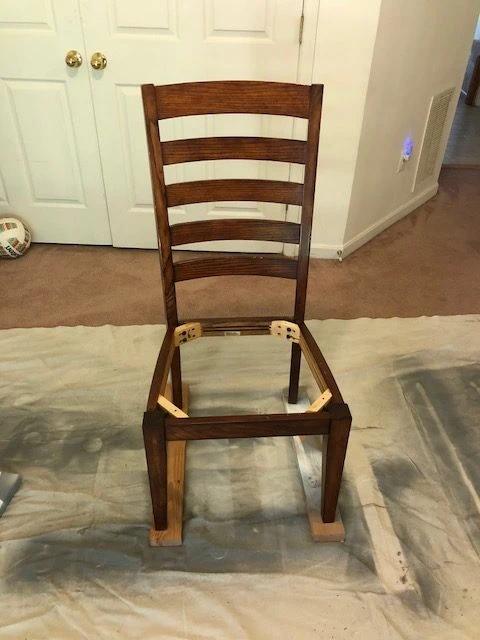 The chalk paint used in this project was by Folk Art in the color Oatmeal, all it took was two coats on all four chairs and the table. A total of 3 bottles was used to completely finish the job. The chalk paint was applied with a cheapy synthetic brush purchased at Joann’s.
 Here is how the chair looked after one coat
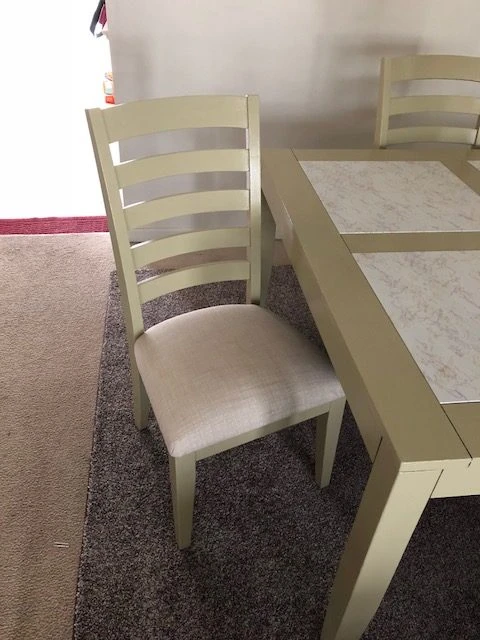
 And here is how it looked after two coats
 Close up
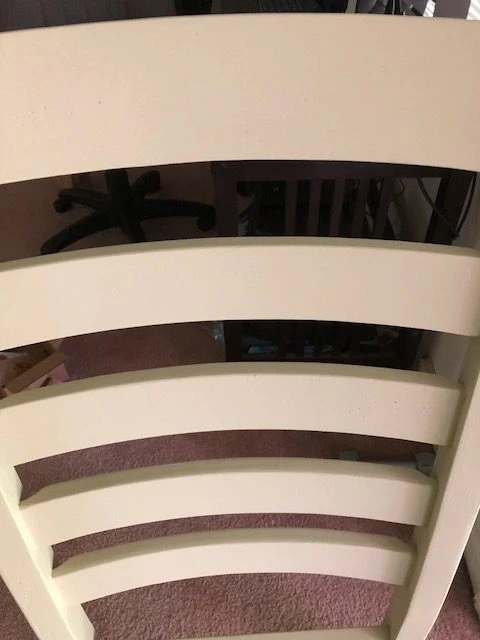 A light sanding in between each coat with 320 grit sandpaper helped give the paint a smooth finish and remove any brush strokes.
To seal the chalk paint wax was the first thought, but after researching Polycrylic won the battle. Since this is a high traffic area I wanted to make sure my paint job held up over time. Three coats of polycrylic and a light sanding in between each coat with the same 320 grit sandpaper was done.
The same steps were repeated for the table.
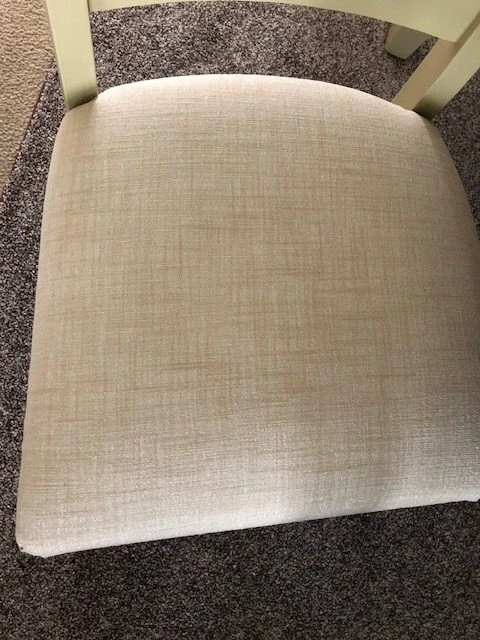
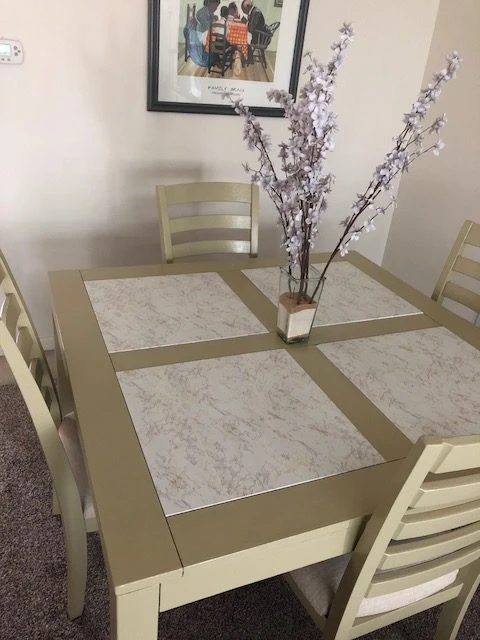 For the chair cushions 2 yards of fabric was purchased at Joann’s, which was exactly enough to cover all four chairs. A nice layer of scotch guard was added to help protect it from the messy teenagers.
 Here is the after photo!
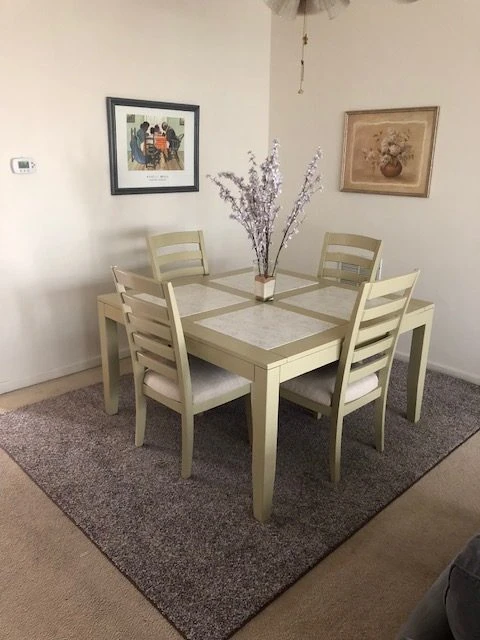
Hello gorgeous 🙂
Let’s start from the bottom up. The rug was replaced with a carpet remnant purchased from a local store. This was by far the priciest item of this whole project. The rug is 7 x 9 feet and it was bound as well. The total cost was $163 including tax. The centerpiece was updated with a vase that was already had on hand, the white sand was purchased at Michael’s and the beige sand was purchased at the Dollar Tree.
The stems were bought from Michael’s in two batches, the first was 40% off each stem. The second batch was buy one get one free. The picture on the right wall replaced the two smaller pictures in the before photo. Just a simple swap was all it took, this picture was in another part of the house. The picture on the left is the same picture, the frame was just spray painted a dark grey to tie into the sectional couch (you can see a little bit of it in the bottom right corner). Finally the huge tree was removed!
I love this pace now, it looks much more bright and open and not to mention like a whole new set of furniture!
What do you guys think?
Enjoy!
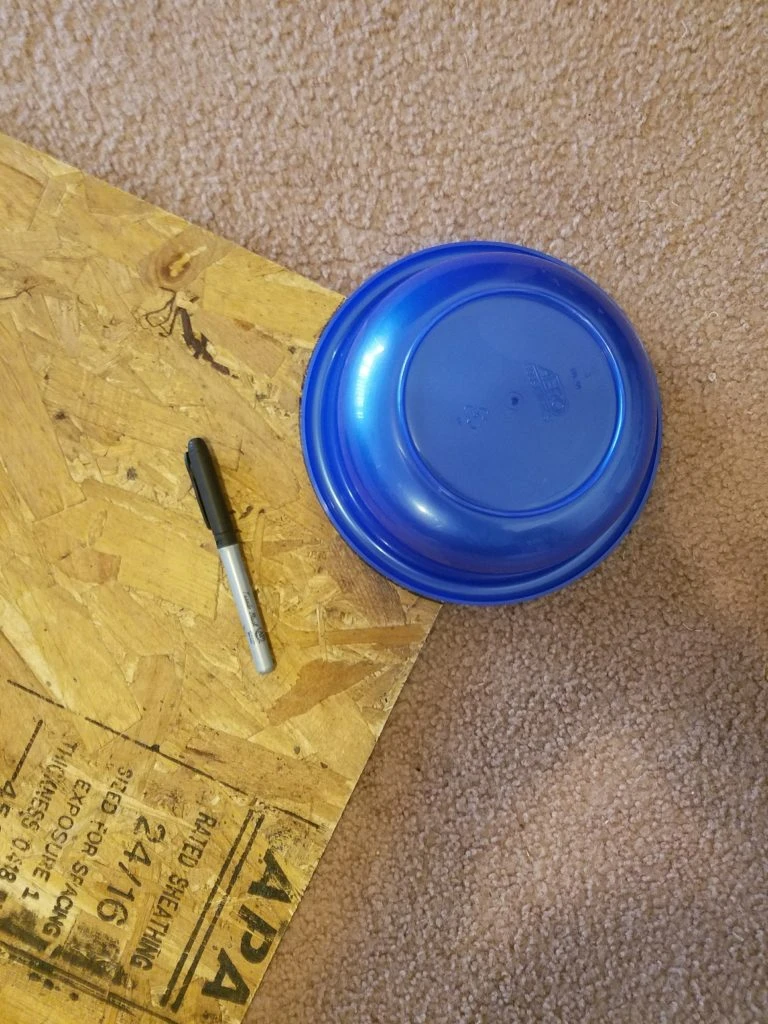
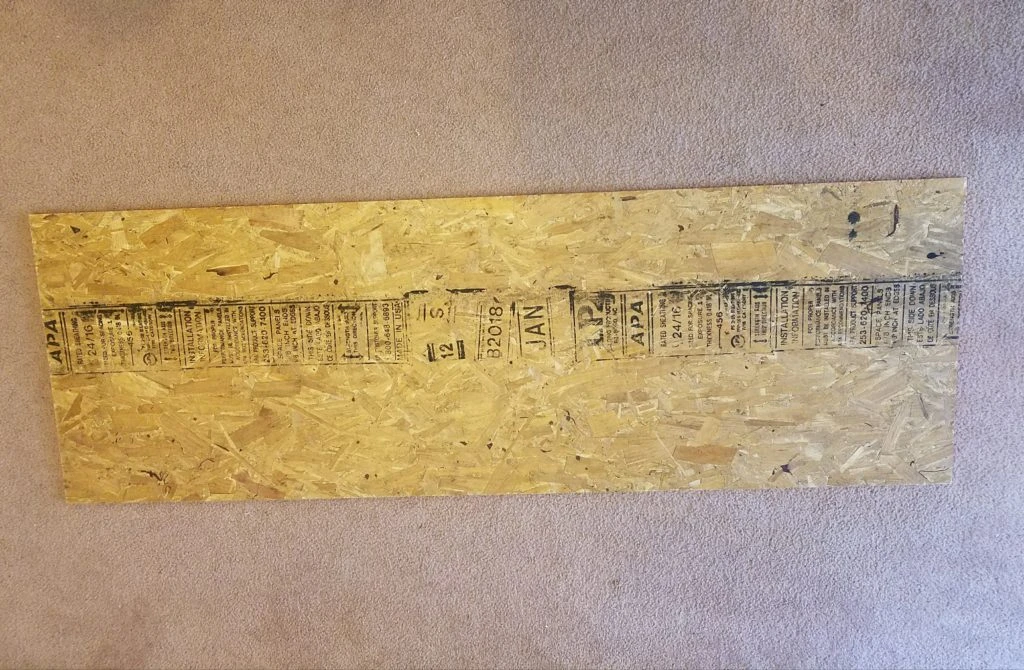 Next I used a bowl out of my kitchen 🙂 and a marker to trace the design on the corners I wanted to cut out with my jigsaw.
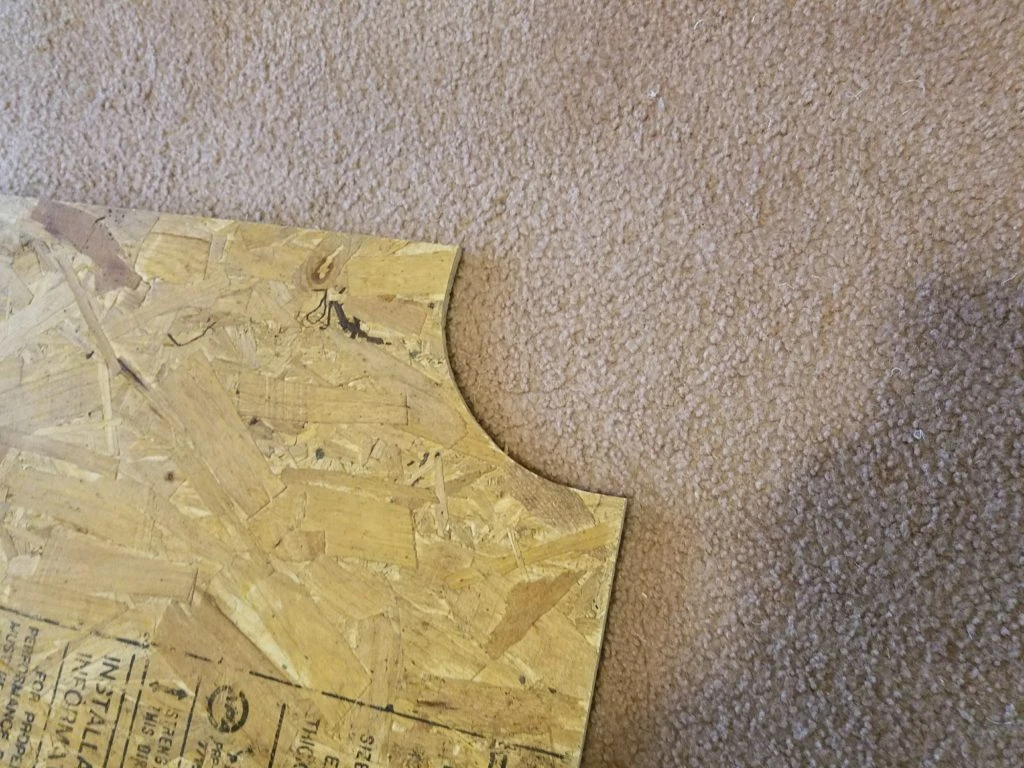
 Here is how the cut looked:
 I was trying to go for this design I found online:
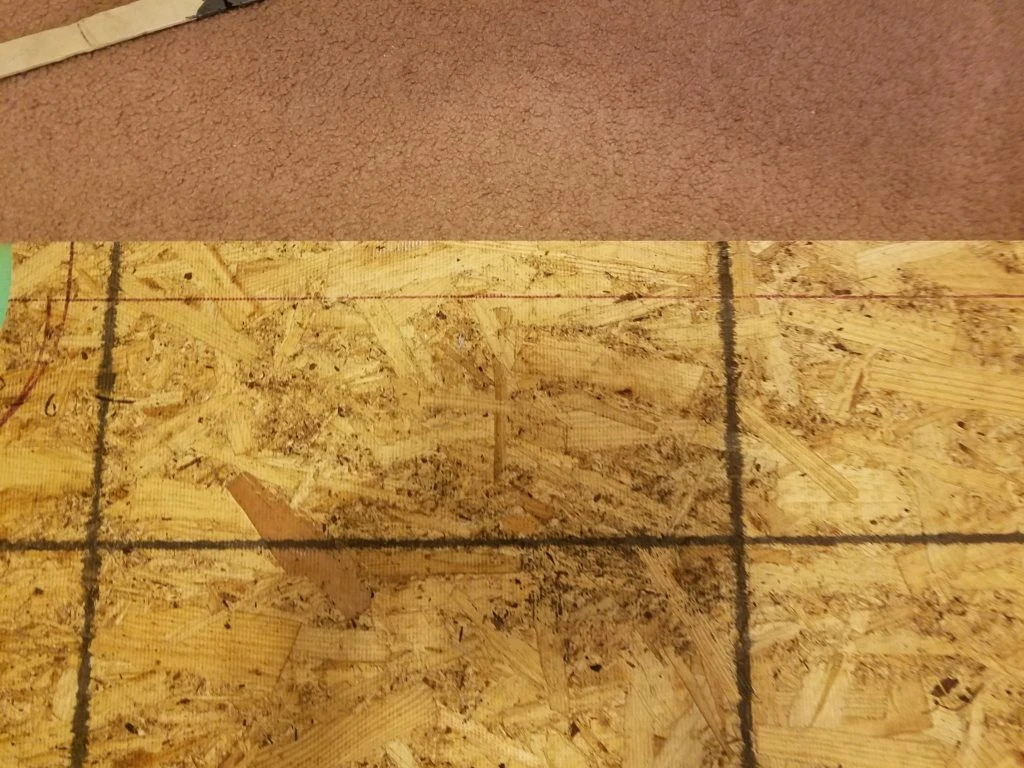
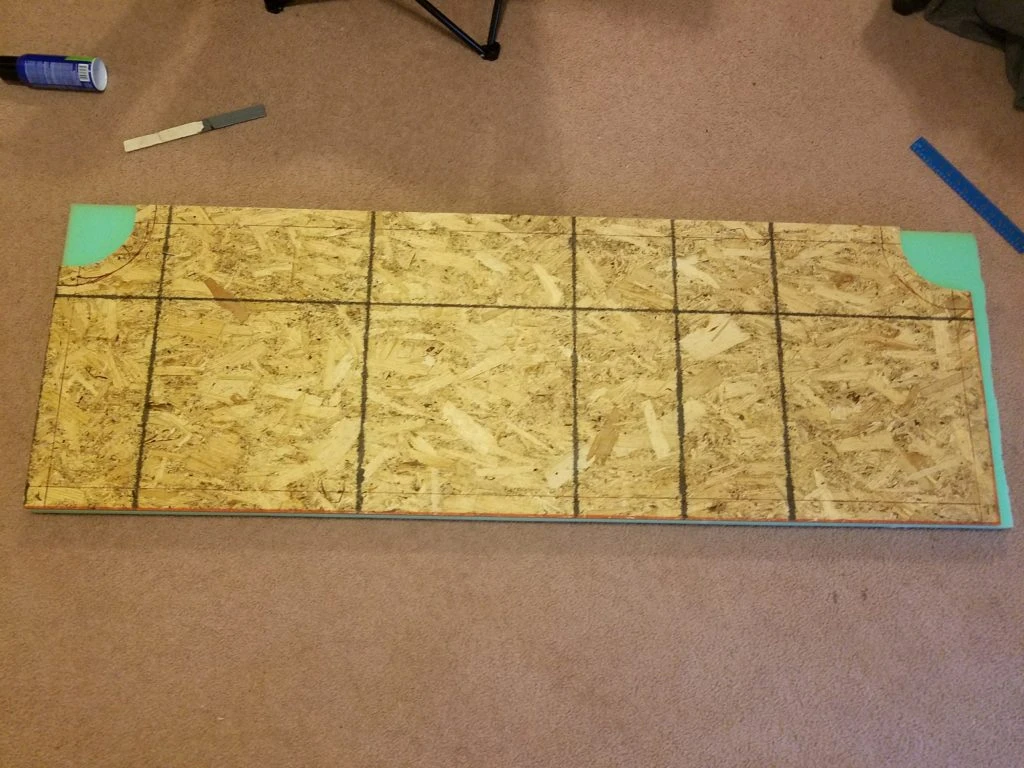
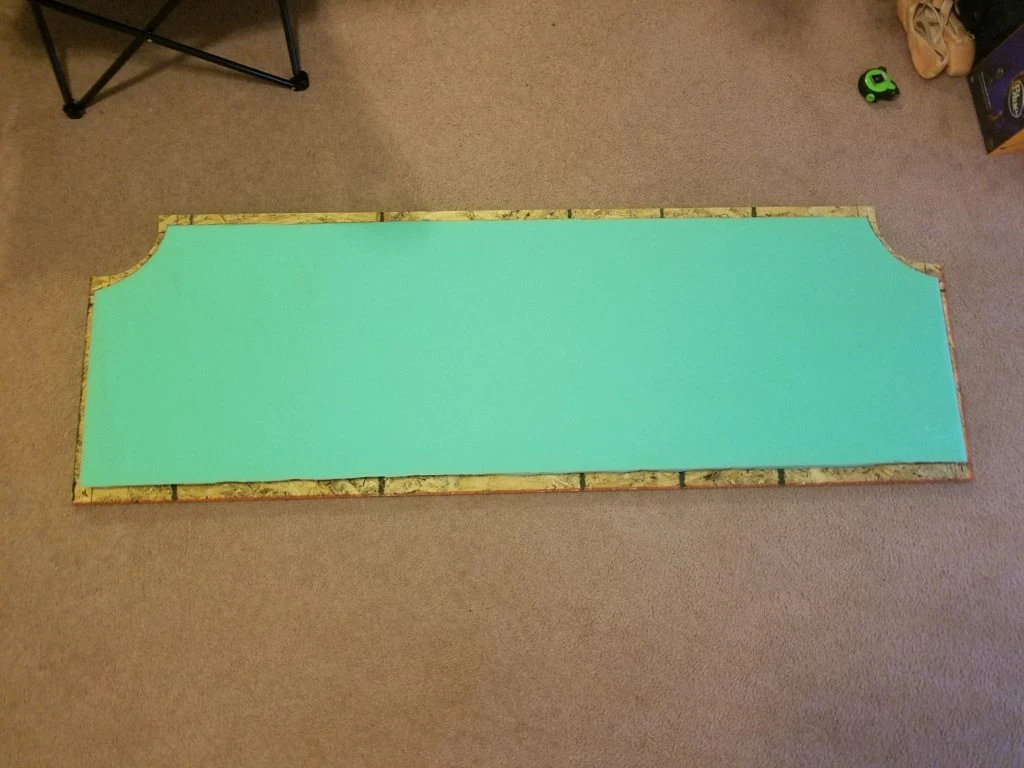 I used spray glue to adhere the foam onto the wood board.
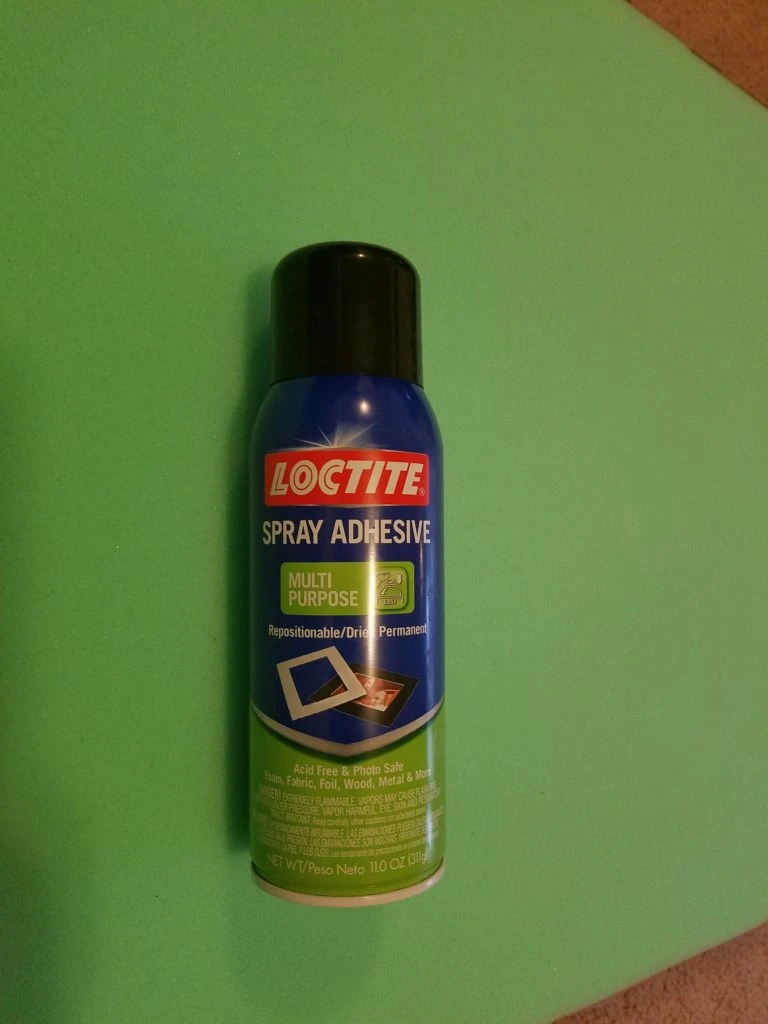 Then it was time to cover it with the batting and fabric. I first ironed the fabric to ensure there were no wrinkles. Next I laid it out on the ground as smooth as possible and then laid my headboard on top. I then started stapling from the middle and worked my way around pulling the fabric taut as I went.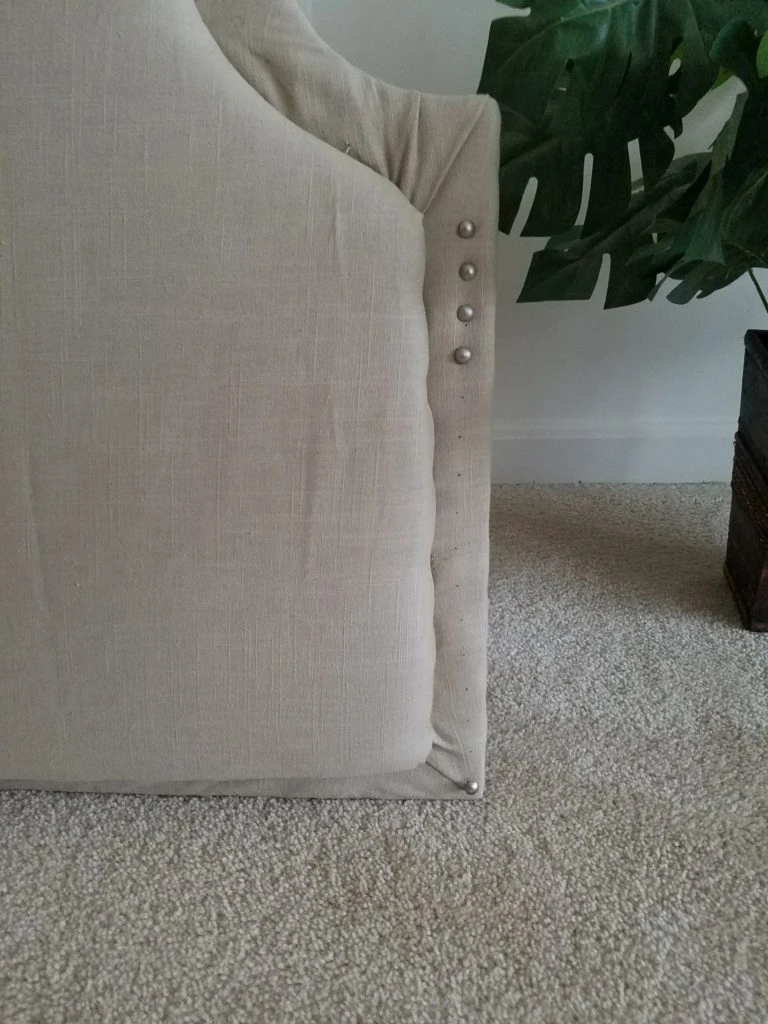
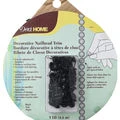 Here is what it looked like when I was done.
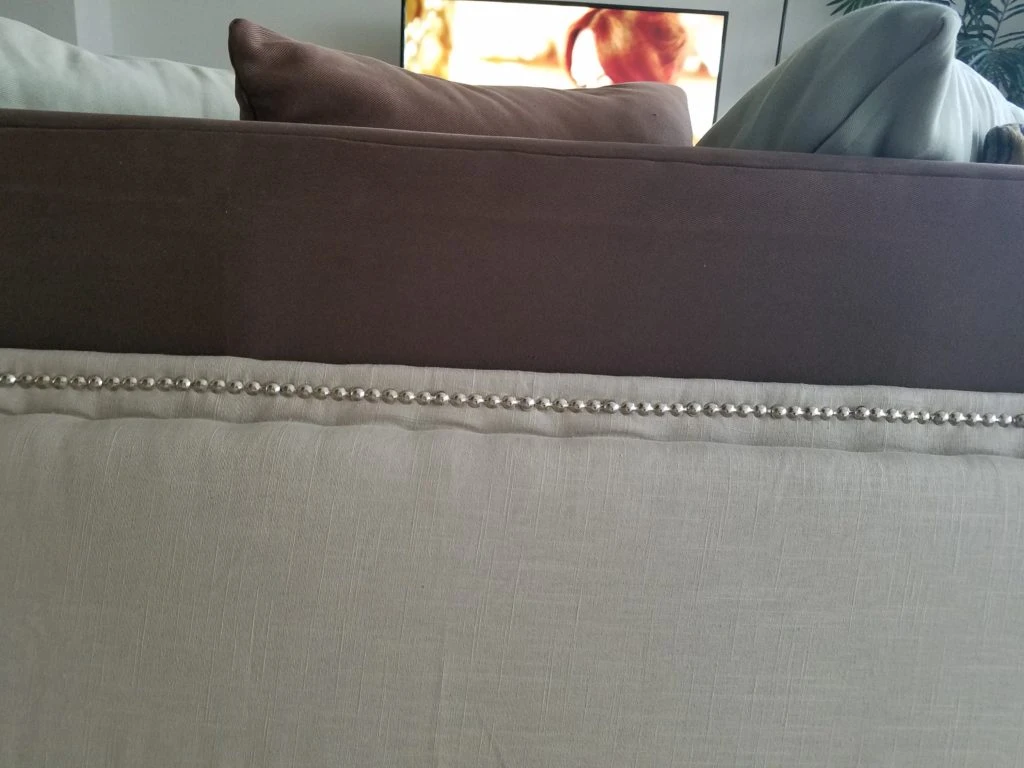 At this point we are almost done. Here is how the headboard looked without the legs attached. You could secure it to your wall from here if you wanted, but since I am a renter I didn’t want to put any extra holes in the wall.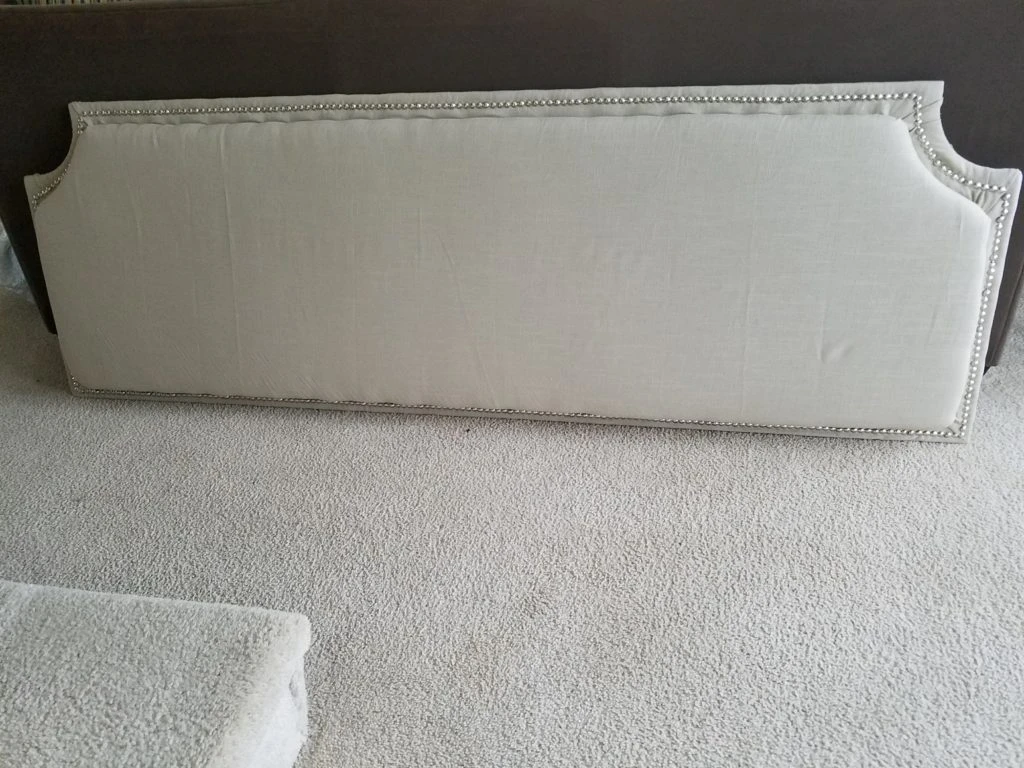
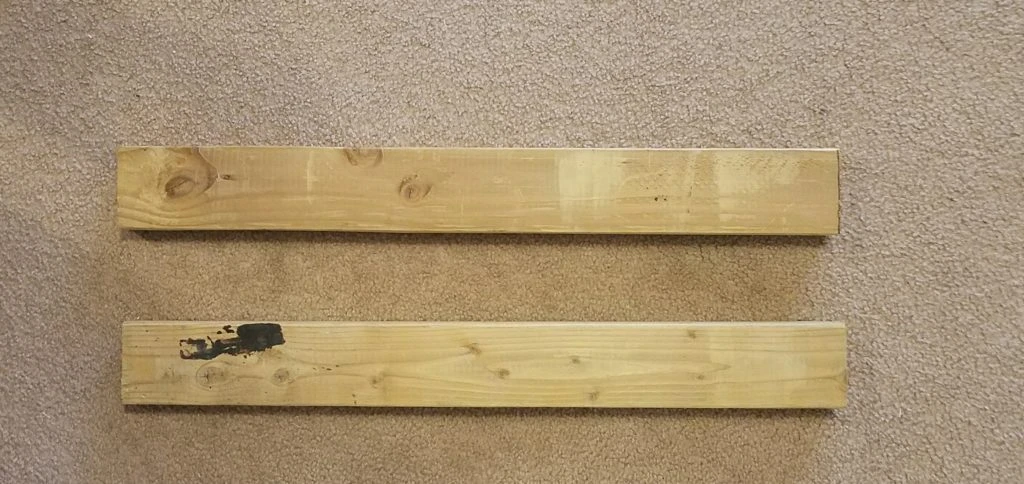
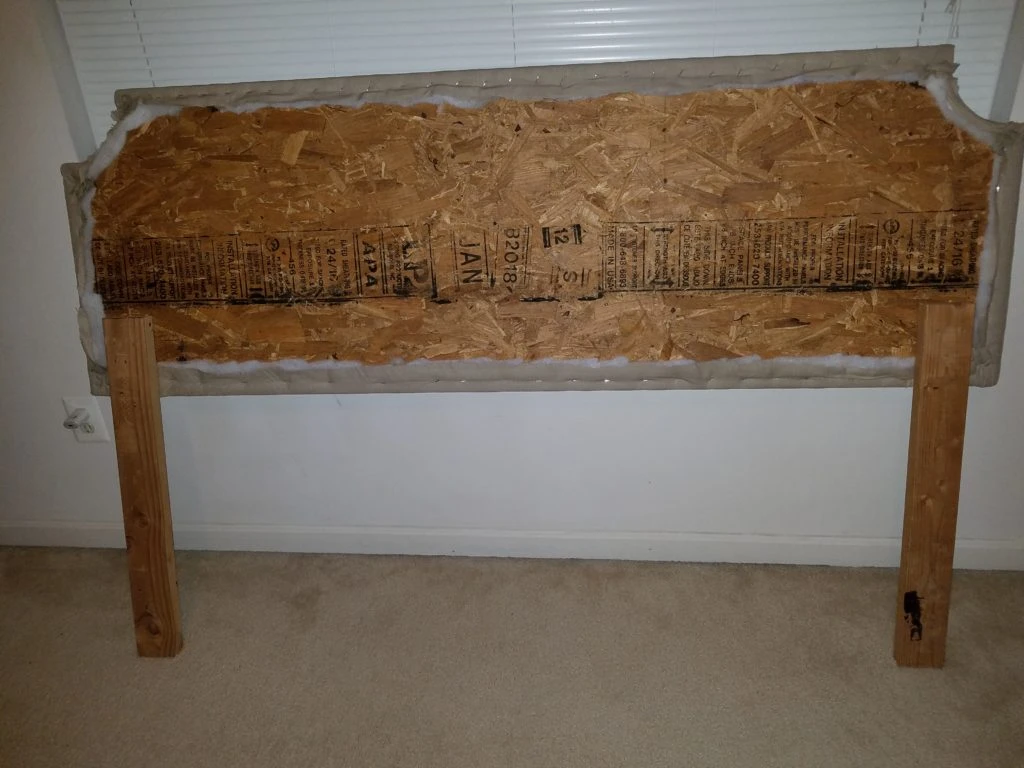 If you care about the back looking pretty you could cover it with that backing material they sell at Joann’s. Clearly as you can see I didn’t care, my bed sits up against the wall no one will ever see the back.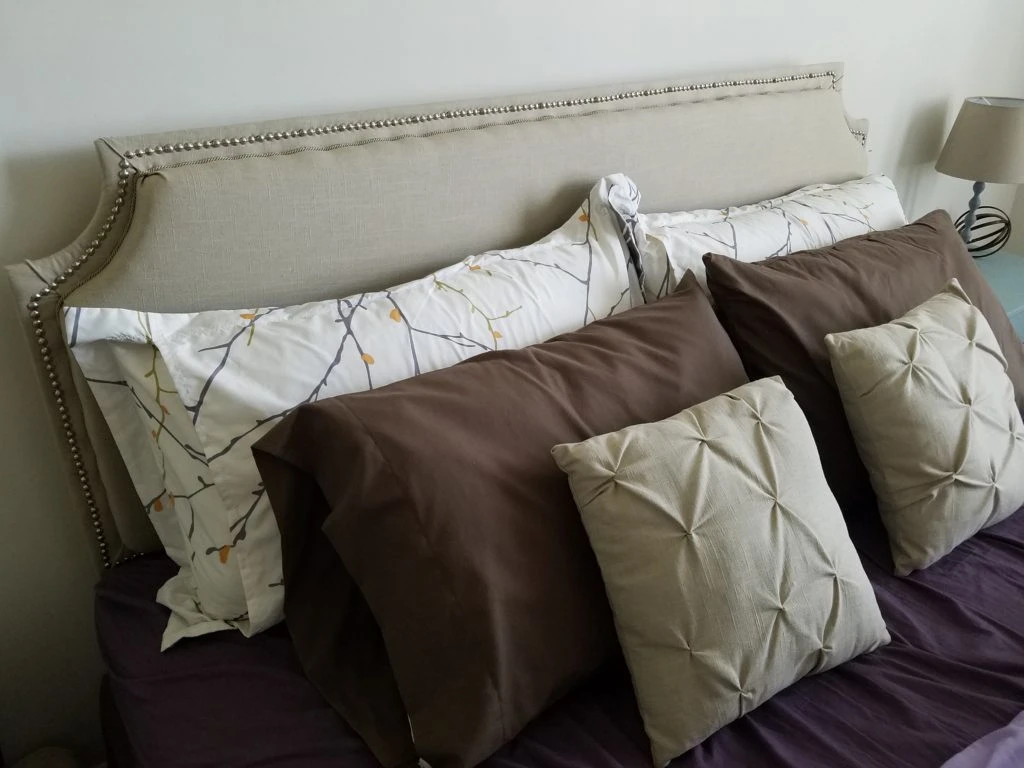


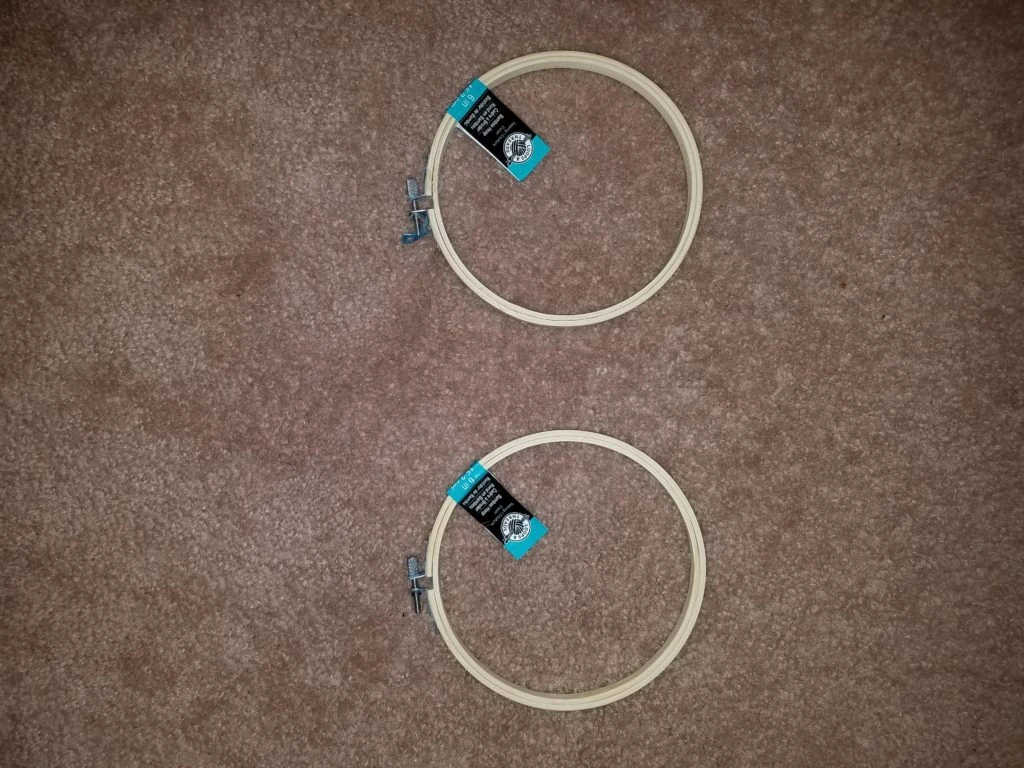
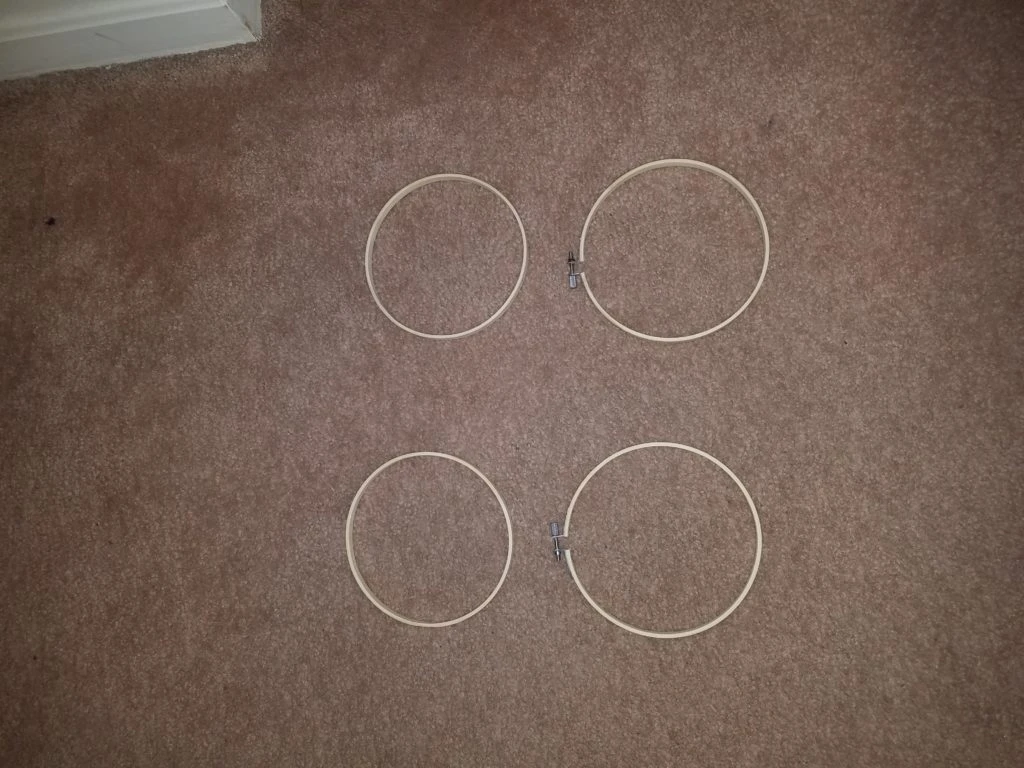 Next stain all the hoops using a foam brush to apply it and then a cloth to wipe any excess stain away.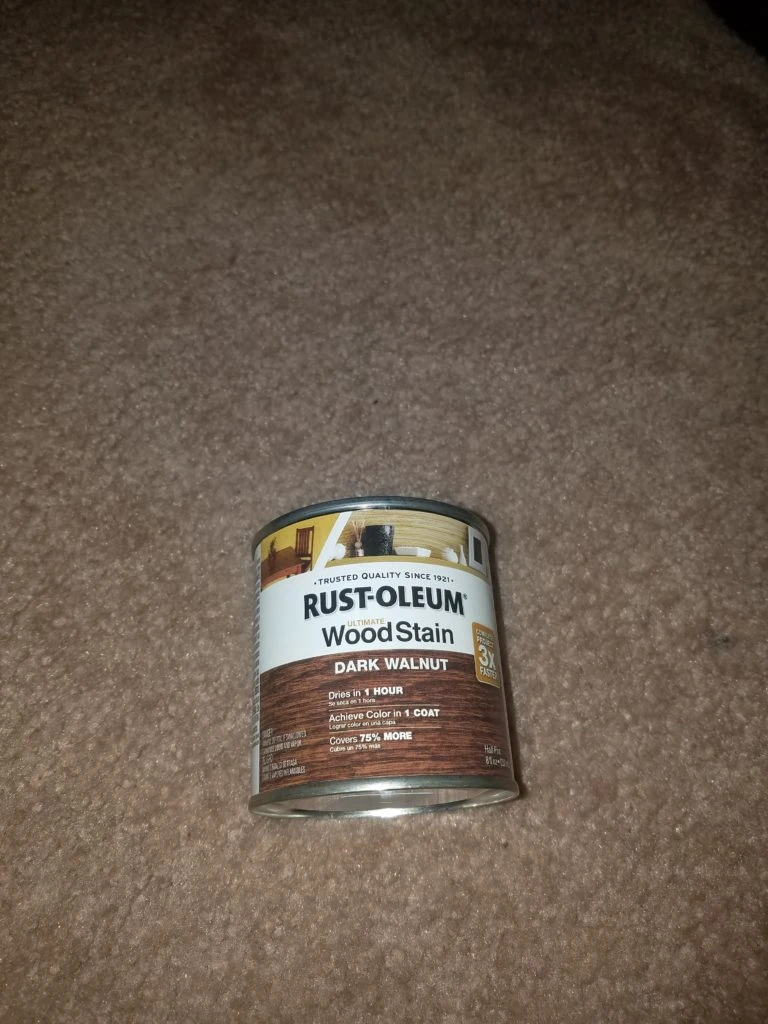
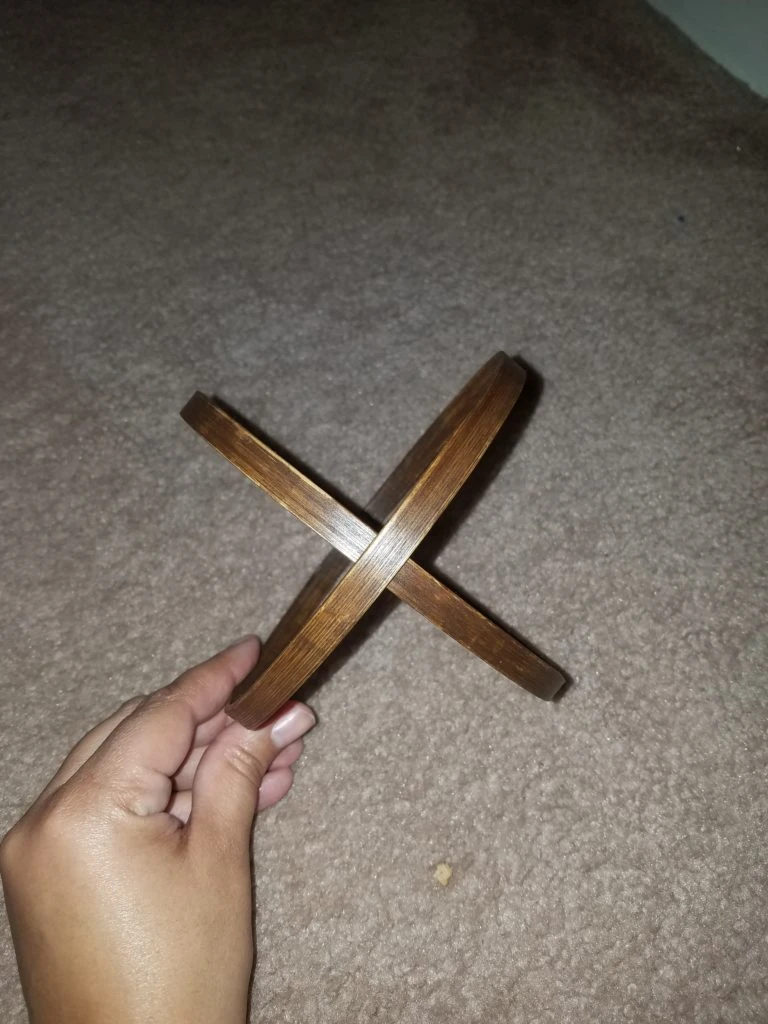
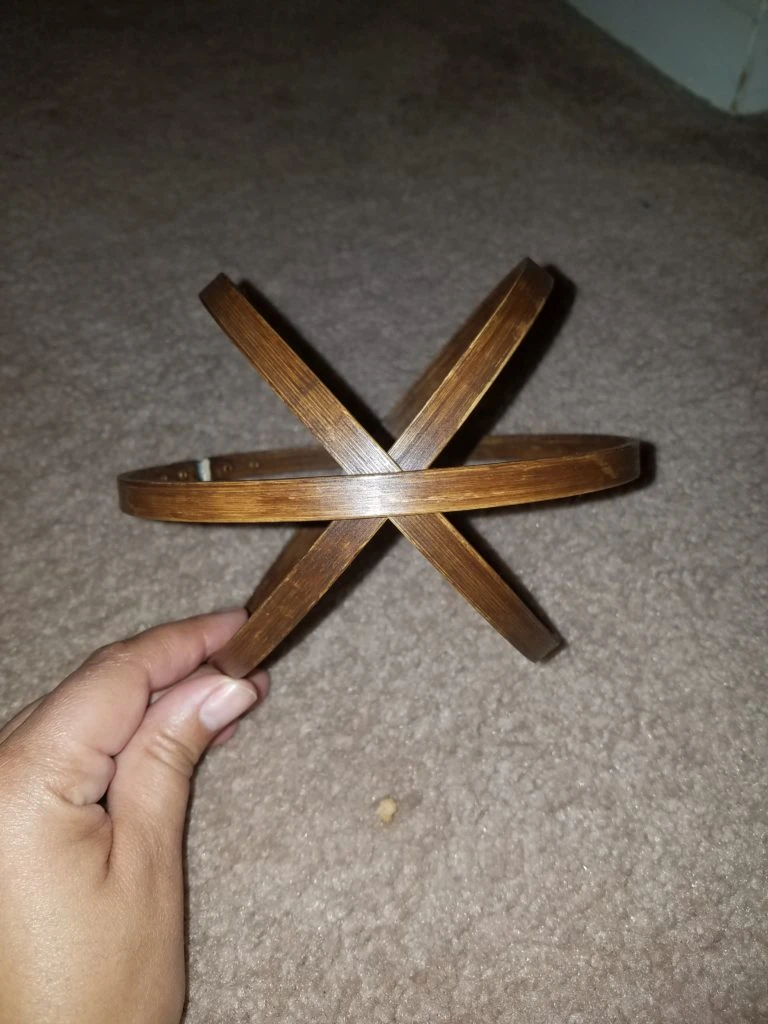
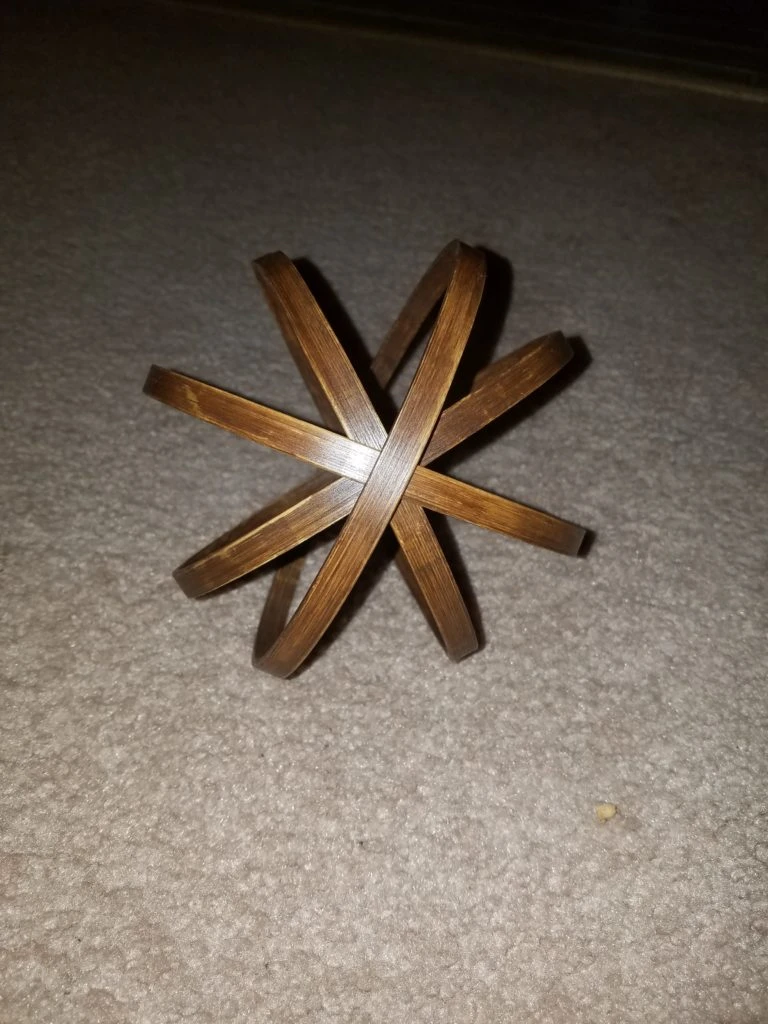
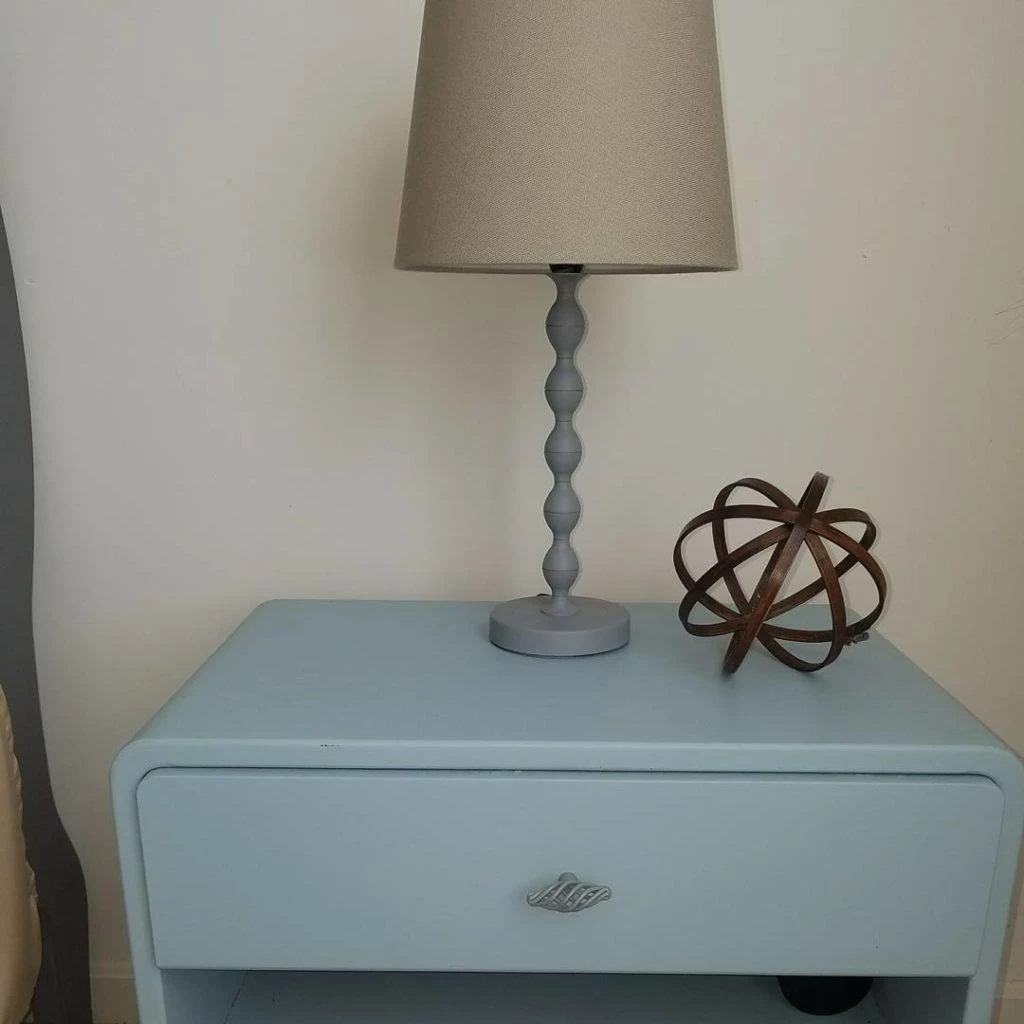
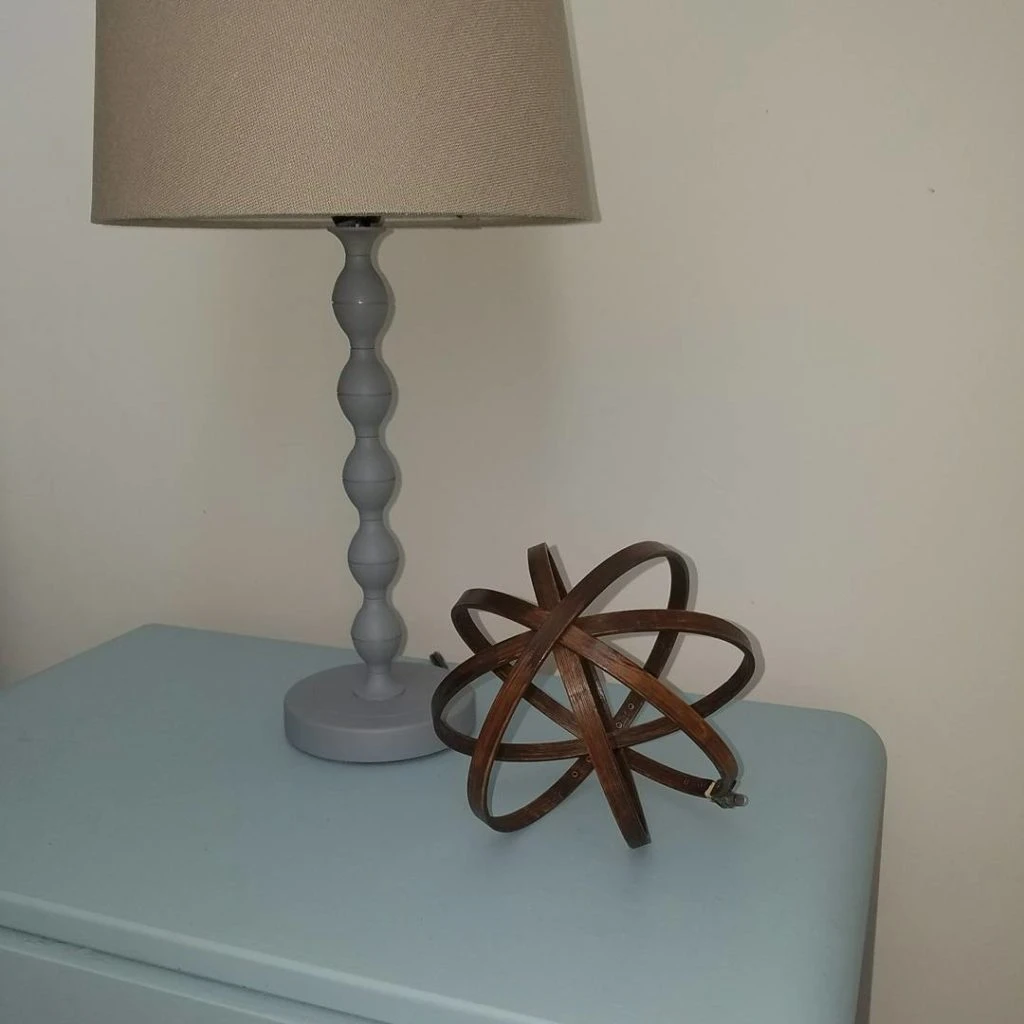 Just hide the screw parts towards the back.
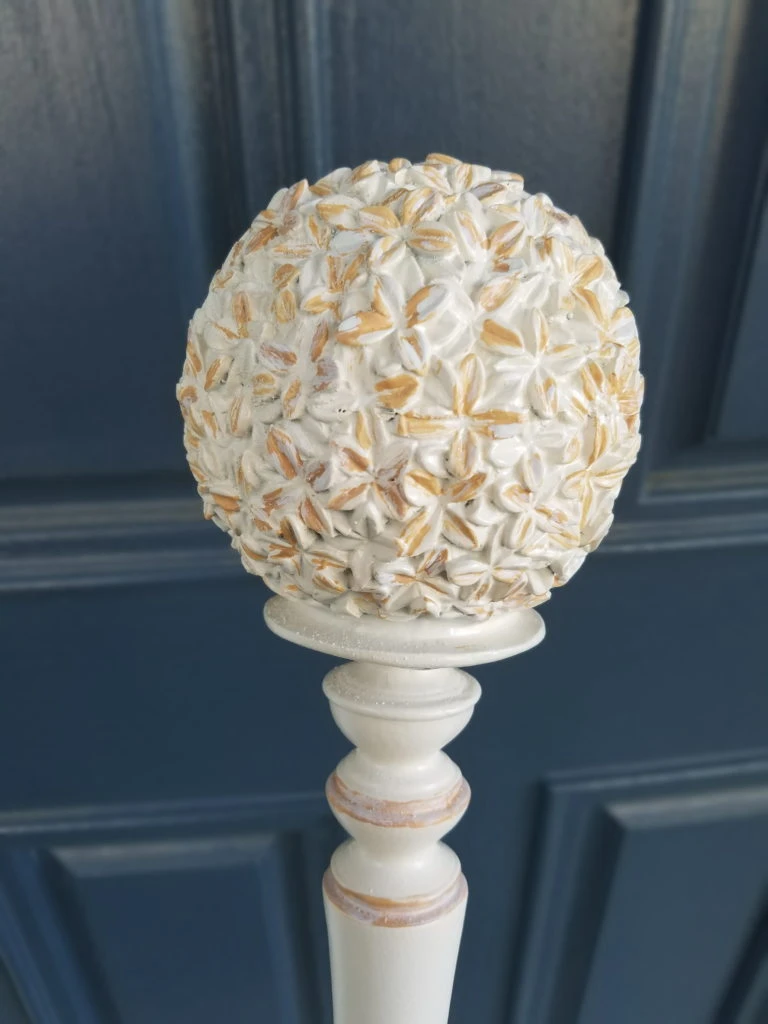
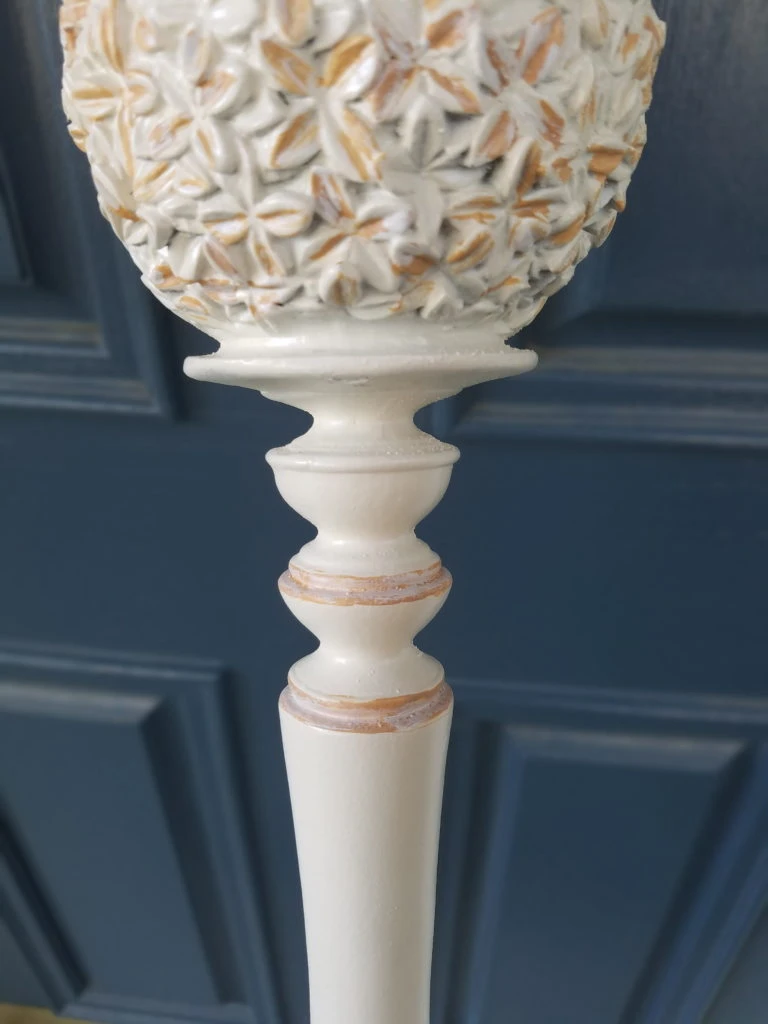
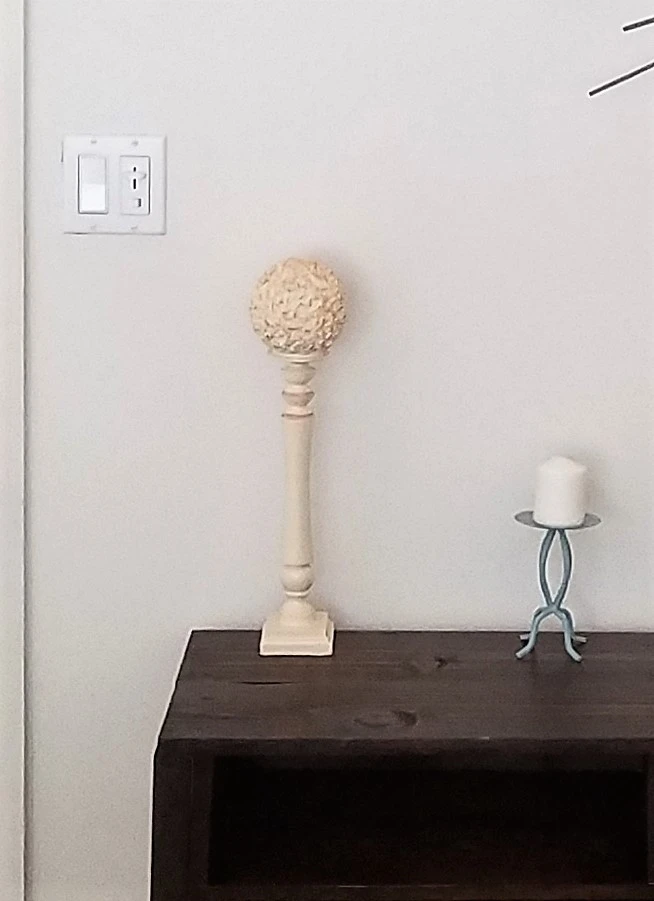
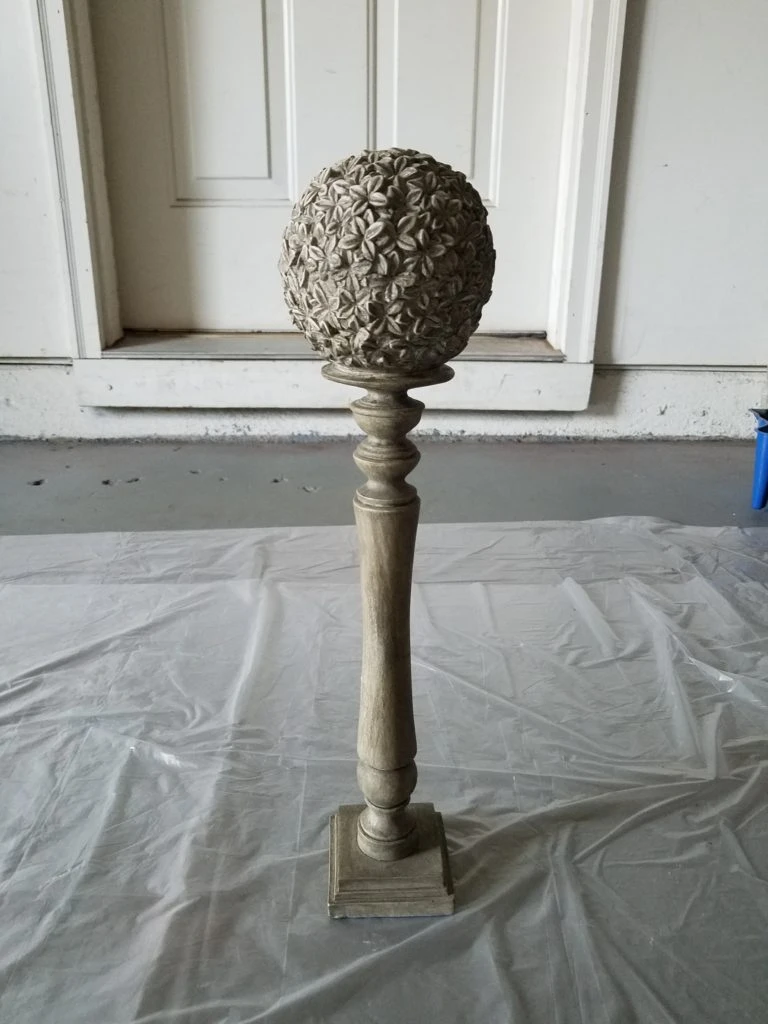 This was a great find and it is pretty as is, however it doesn’t match the theme or colors in my room. So to fix that I started by spray painting it a satin ivory.
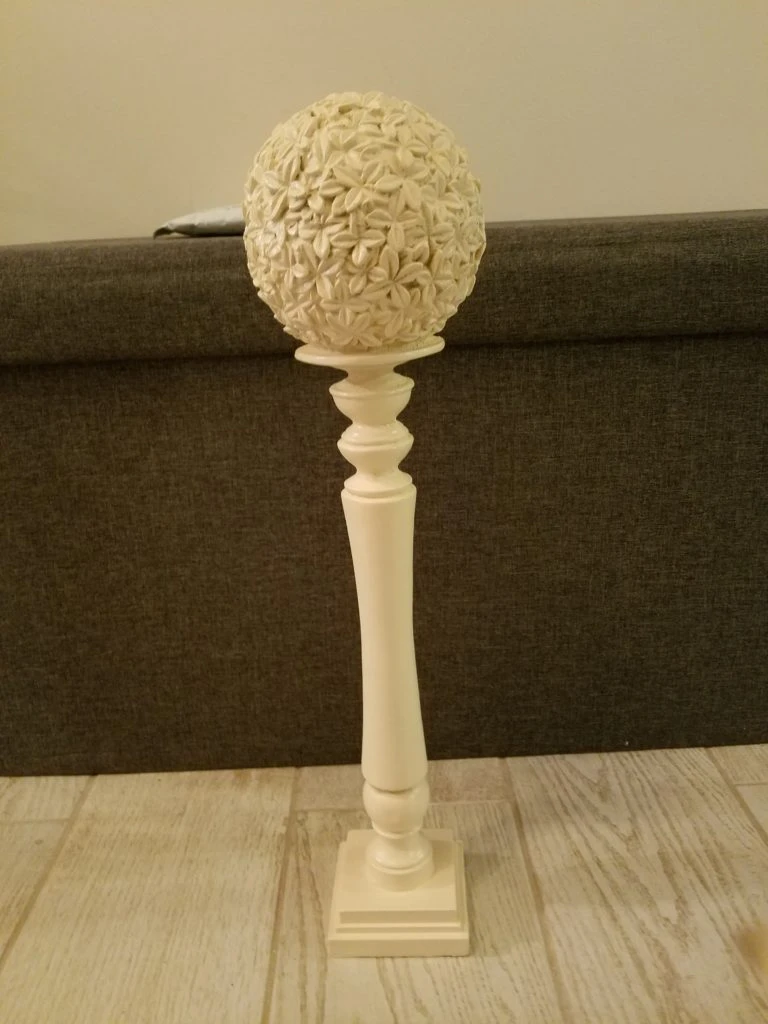 After spraying paint two light coats I wanted to jazz it up a bit more and add a different color. So I looked in my stash of paints and found these two colors which I mixed together.
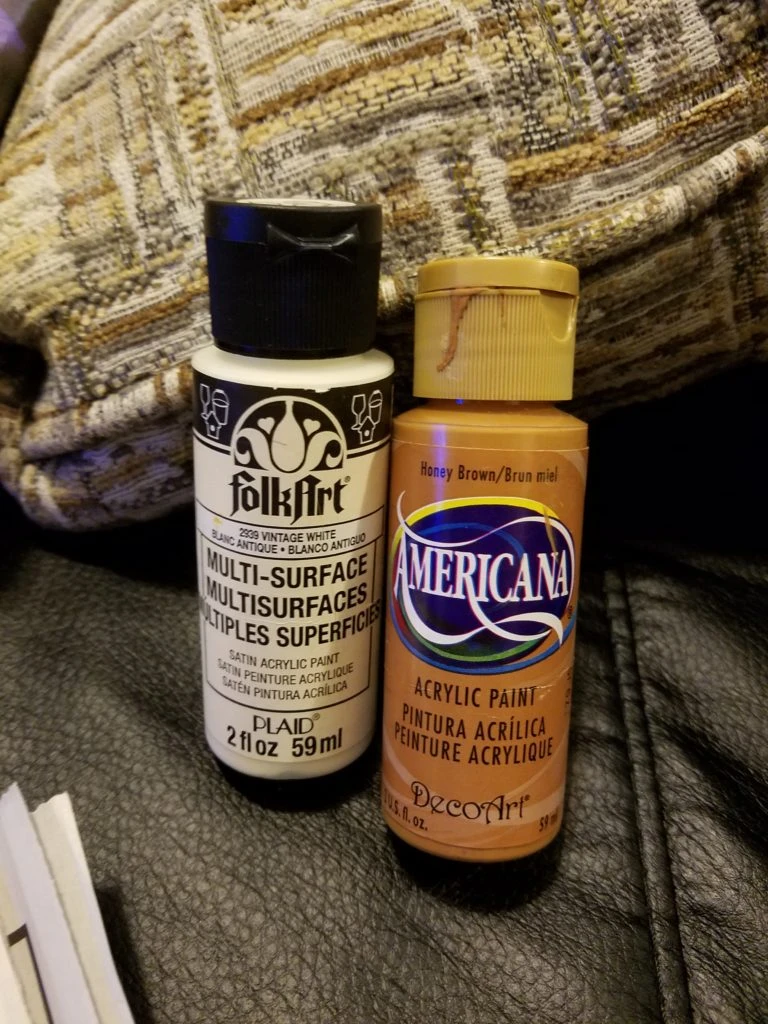 After mixing the colors together I ended up with a muted brown-y beige-y color.
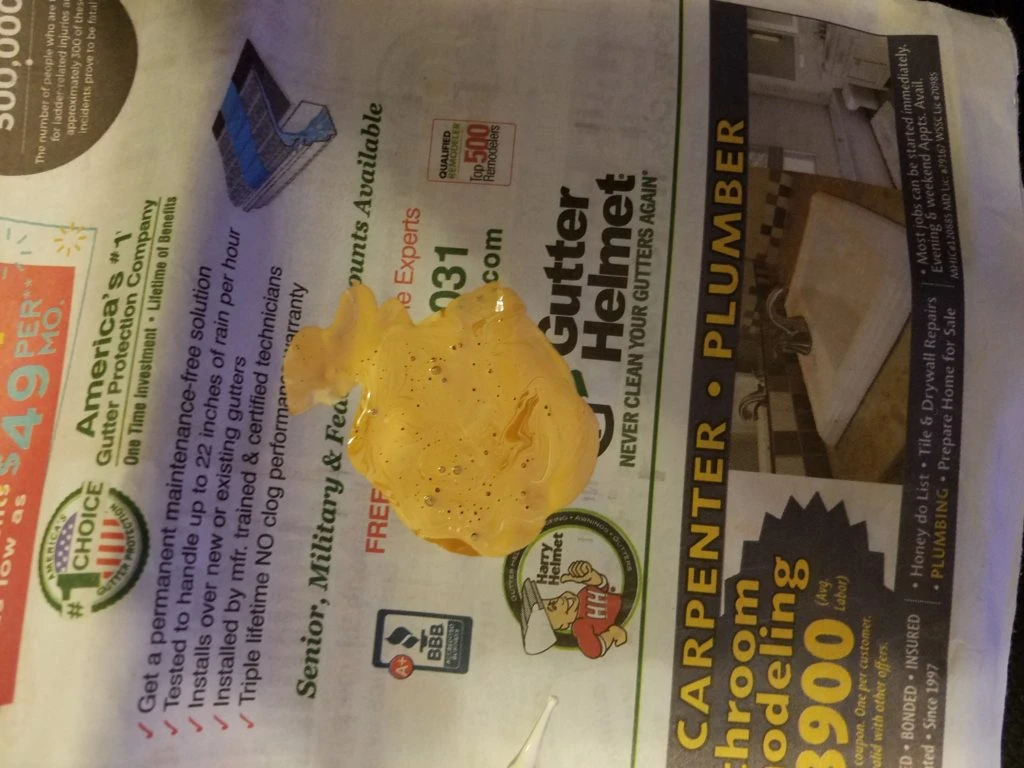 I used a small paint brush and painted a couple of the rings around the base of the piece along with the flowers. Here is how it turned out.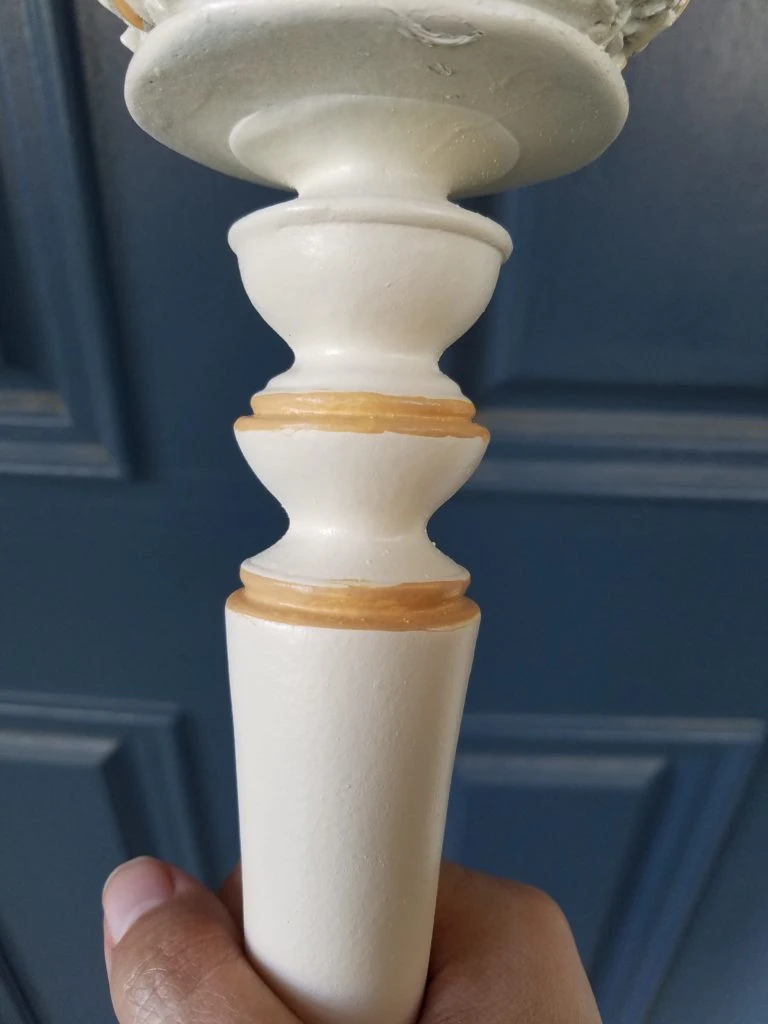
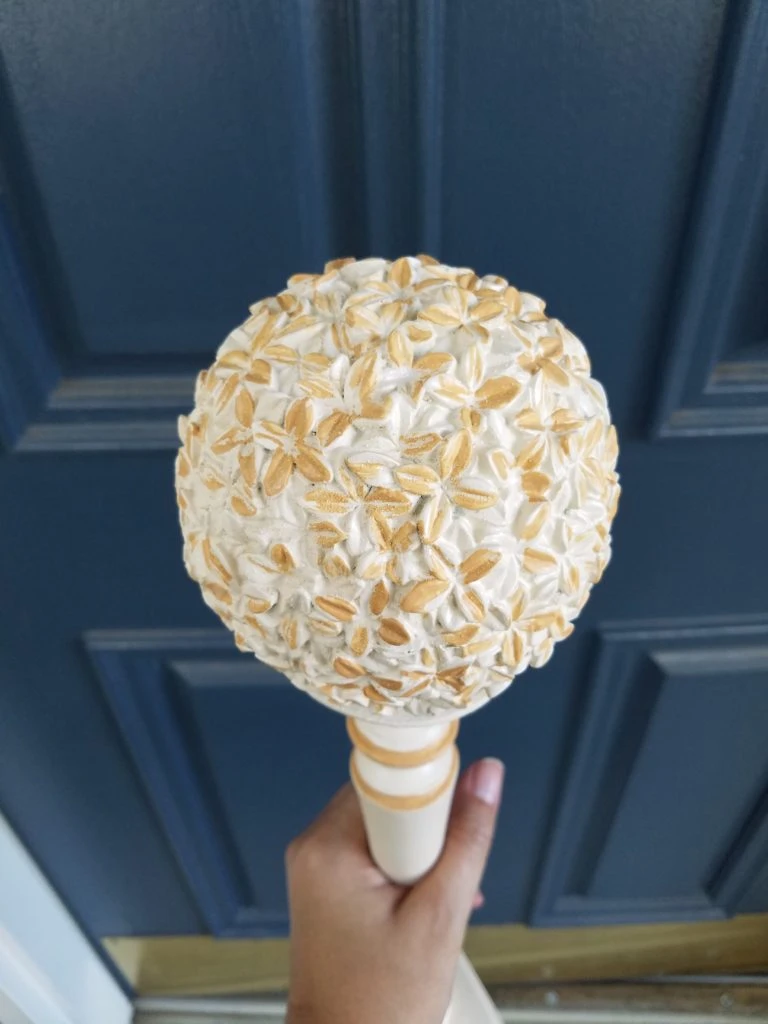 The color was still a little too orange-y for me so I went back over it with just the Vintage White acrylic paint with my paint brush and softened the color a bit.